
w
Upgrade
ESXi host to ESXi 5.5 using VMware Update Manager 5.5
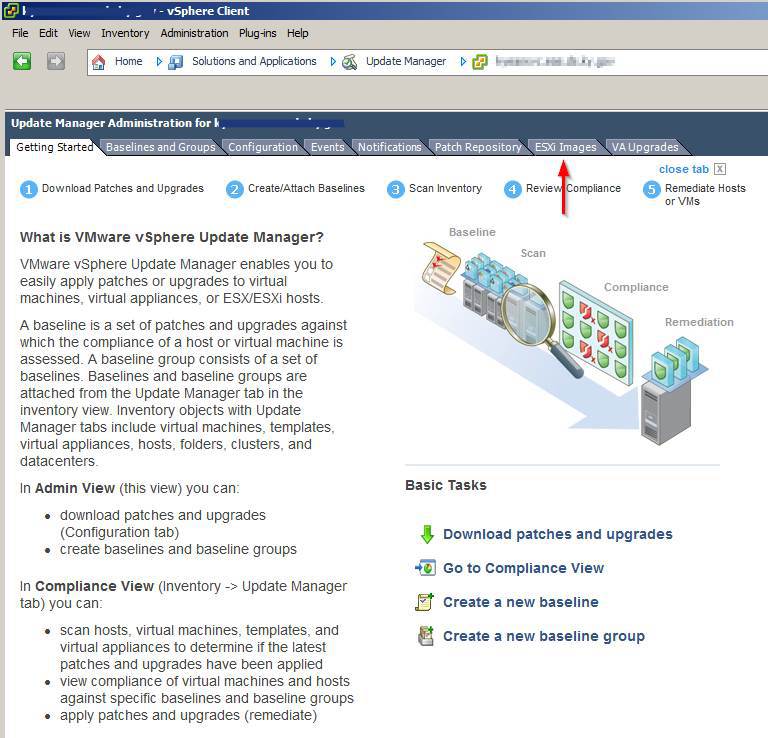
1. Open
the vSphere client and click on Update Manager
2. First
we’ll upload the ISO image. Click on the “ESXi Images” tab.

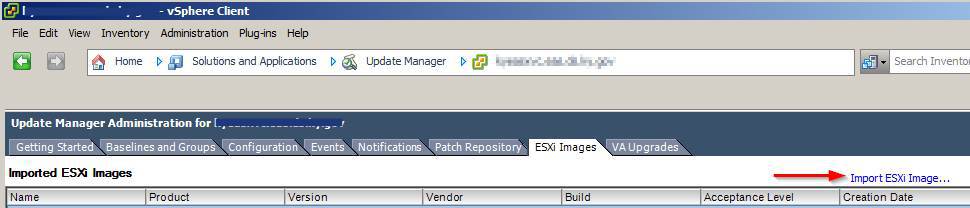
3. Click
on the “Import ESXi Image” link.

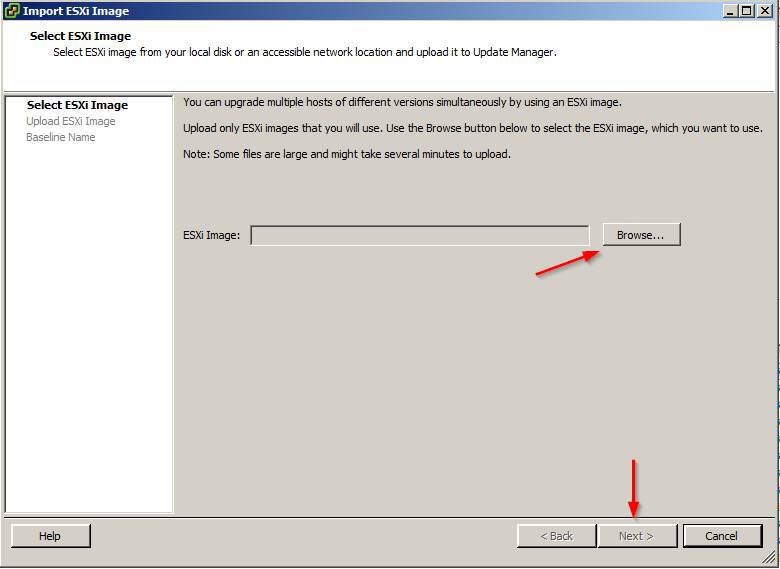
4. Click
on “Browse” and select the path where the ESXi 5.5 ISO image is located
on your machine or network, then click “Next“.

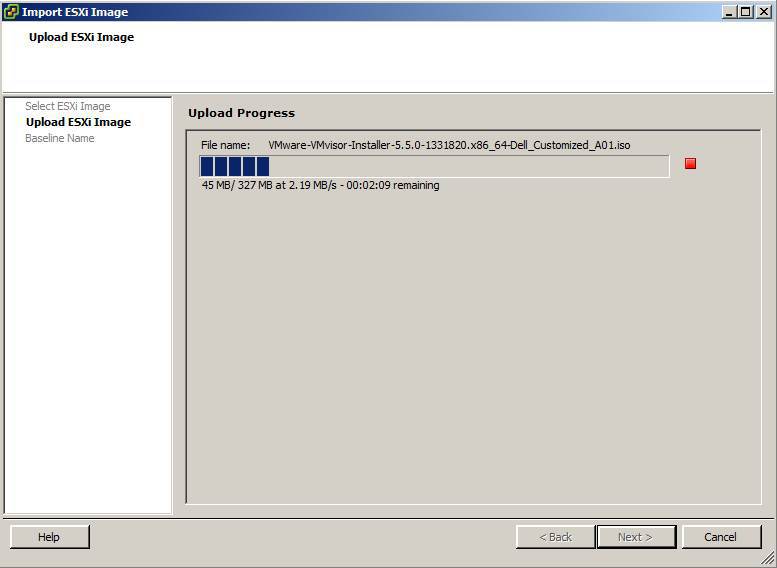
5. The ISO
image will then start the process of upload the image. This typically just
takes a minute or two.

6. After
the ESXi 5.5 ISO image upload is completed you are prompted to create a
baseline. Go ahead and do so as we’ll need a baseline in order to upgrade the
hosts anyways. Simply enter a name and description for the Baseline.


7. Go to
the Hosts and Clusters view and select the host you want to upgrade first and
then select the “Update Manager” tab, then click on the “Attach”
link so that we can attach our new Baseline to this host.


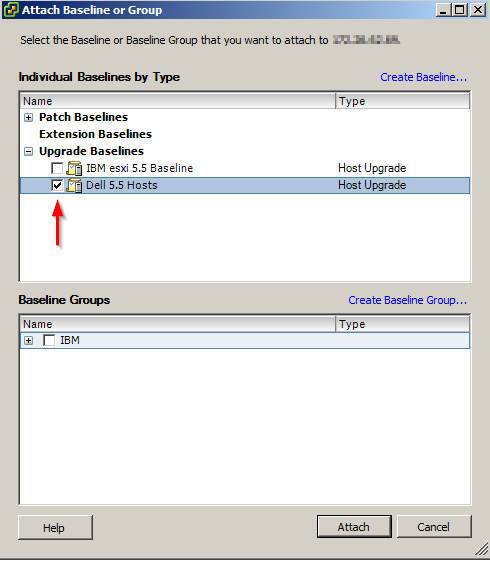
8. Now
select the newly created Baseline you created during the upgrade, then click on
“Attach“. In this example, since this is a Dell host I named the
baseline “Dell 5.5 Hosts”.

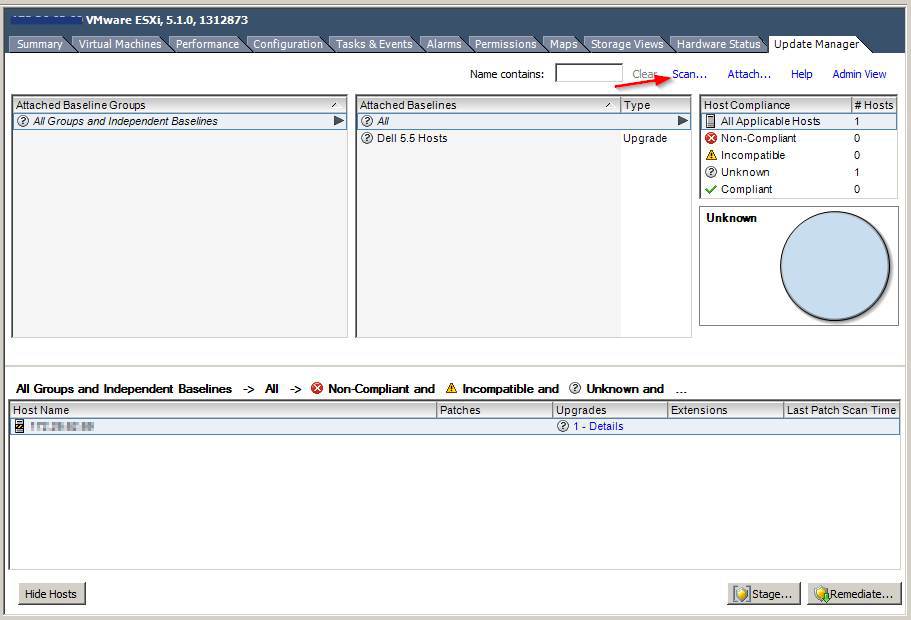
9. Once
you have attached the baseline now click on “Scan“.

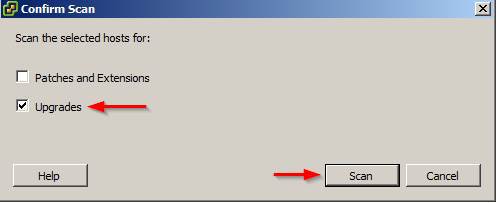
10.
In the scan confirmation
window make sure that “Upgrades” are checked and then click on “Scan“.
This step can take several minutes.

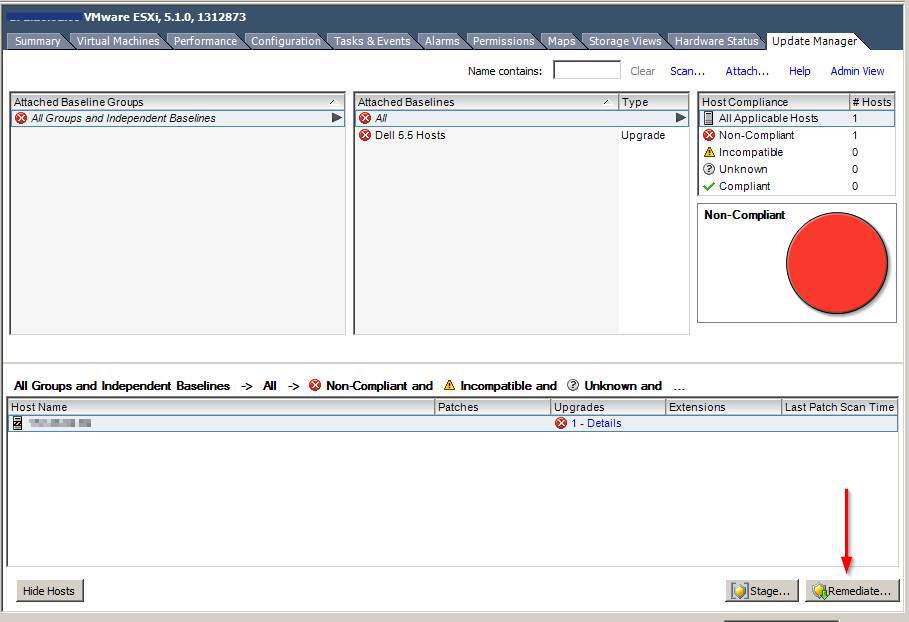
11. When
the scan is complete you’ll be shown the results such as below which will tell
you the host (ESXi 5.1) is not compliant with the baseline (ESXi 5.5). To
remedy this click on “Remediate“.

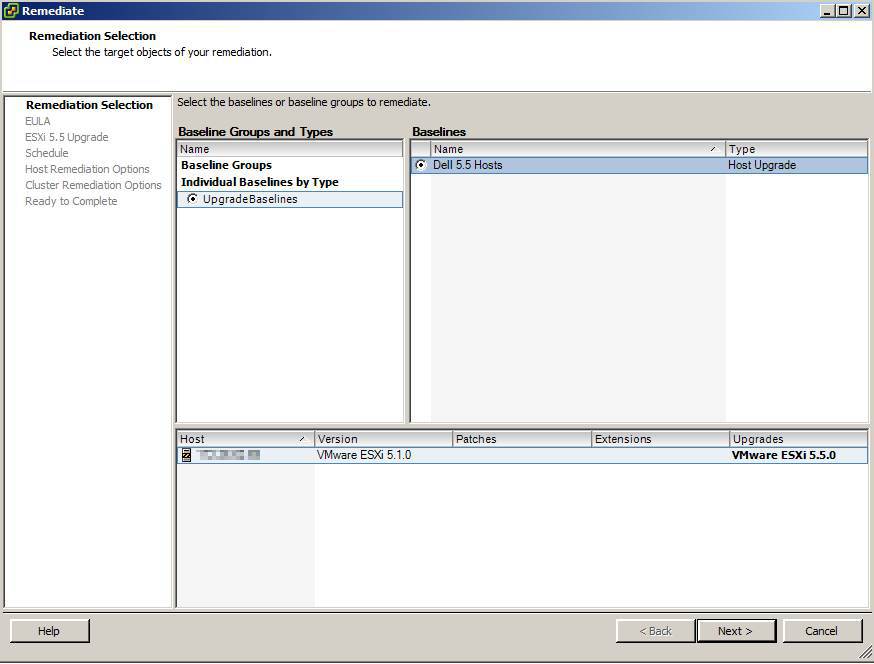
12.
Select your baseline and
click on “Next“. Agree to the EULA terms and click “Next“.

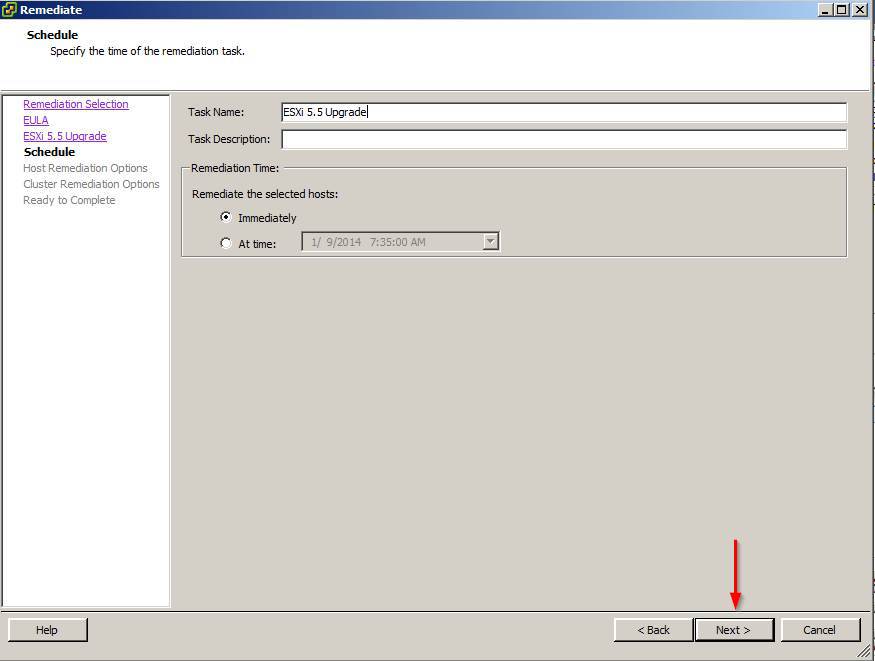
13.
Give the task a name and
if you want, at this step you could schedule the upgrade for anytime. We’ll go
ahead and leave the default setting and run it immediately. Click “Next“.

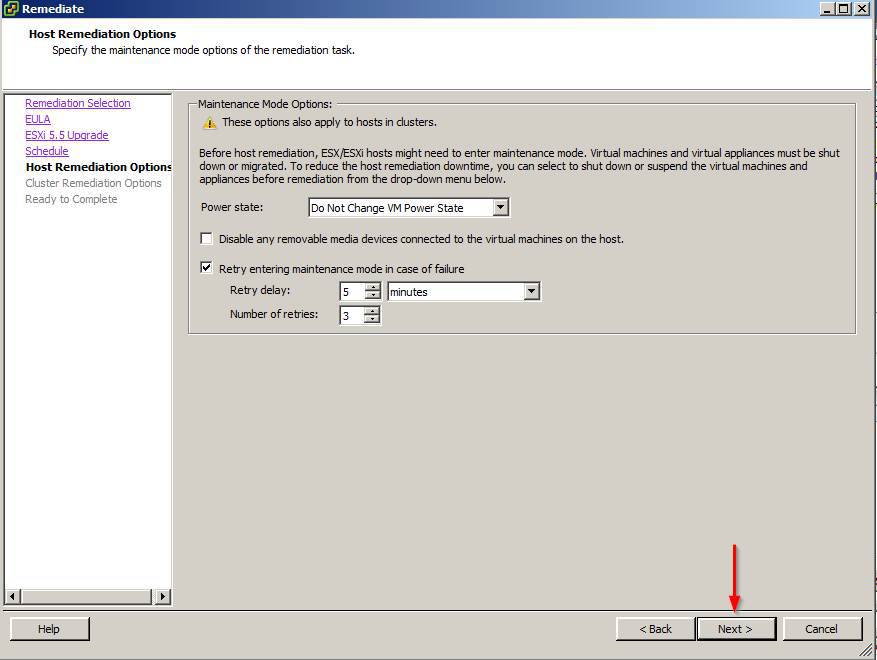
14.
VUM will automatically
place the host into maintenance mode if needed and at this screen you can
change those settings if you desire. We’ll leave it as default. Click “Next“.

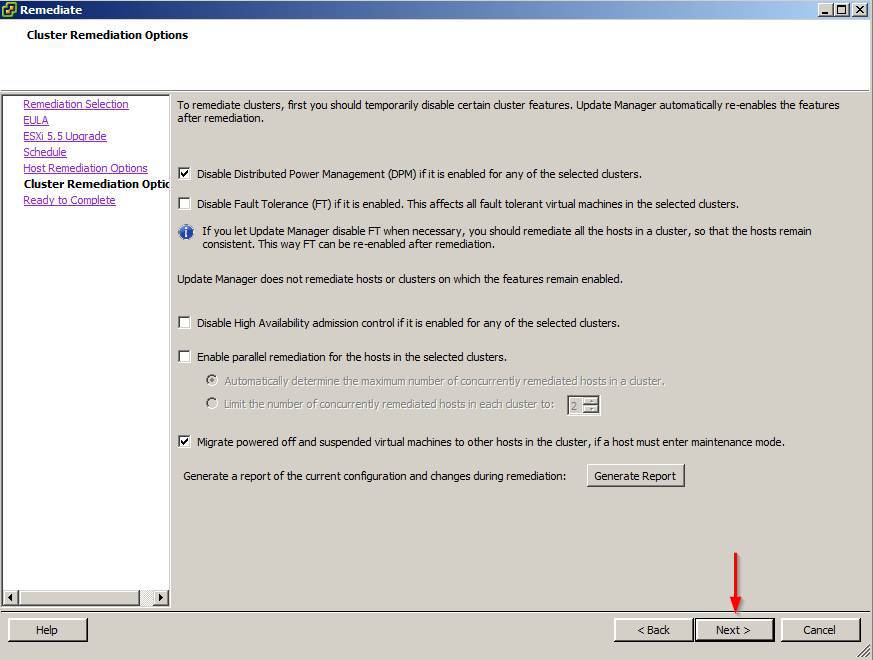
15.
We’ll leave all the
defaults for the Cluster Remediation Options as well. Click “Next“.

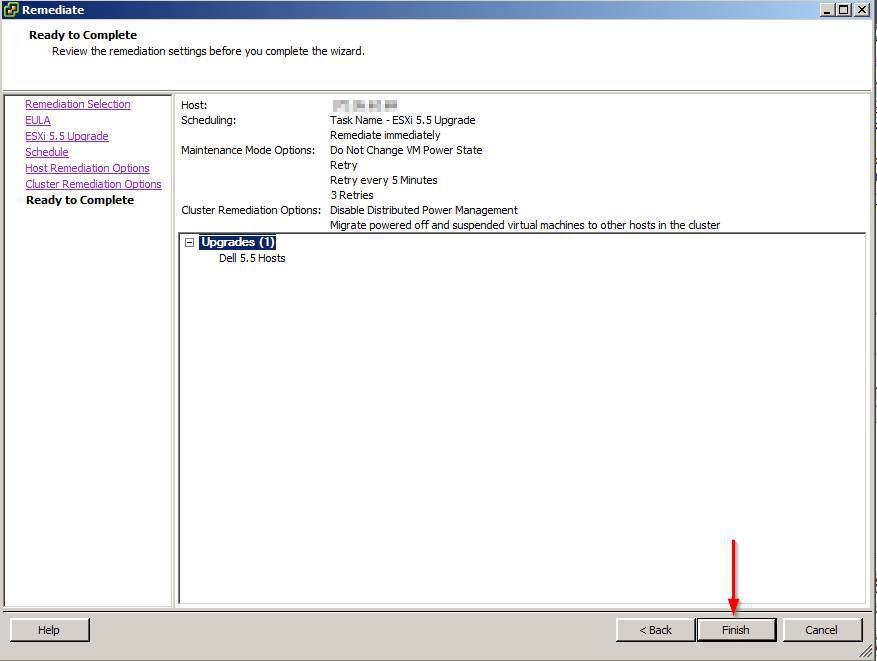
16.
The only thing left to do
now is to look over the confirmation and then click on “Finish“. VUM
will then start the upgrade process which can take some time so go get a coffee
or in my case, water and wait.

17.
Once finished you’re host
will be running ESXi 5.5. It’s as easy as that!
18.

Hope in was
informative!!!
Thank you for reading this
article.
With regards,
Sayed

No comments:
Post a Comment